CRCL
Timeline: Oct 2018 – Dec 2018
Project Type: Class Project
Role: Product Designer
Tools: Solidworks, Wood-lathe, Band-saw, Sander, End-mills, Sand Molds, Laser-cutter, Adobe Illustrator, Adobe Premiere Pro
Skills: Woodworking, Sandcasting, Milling
Food as a Connection
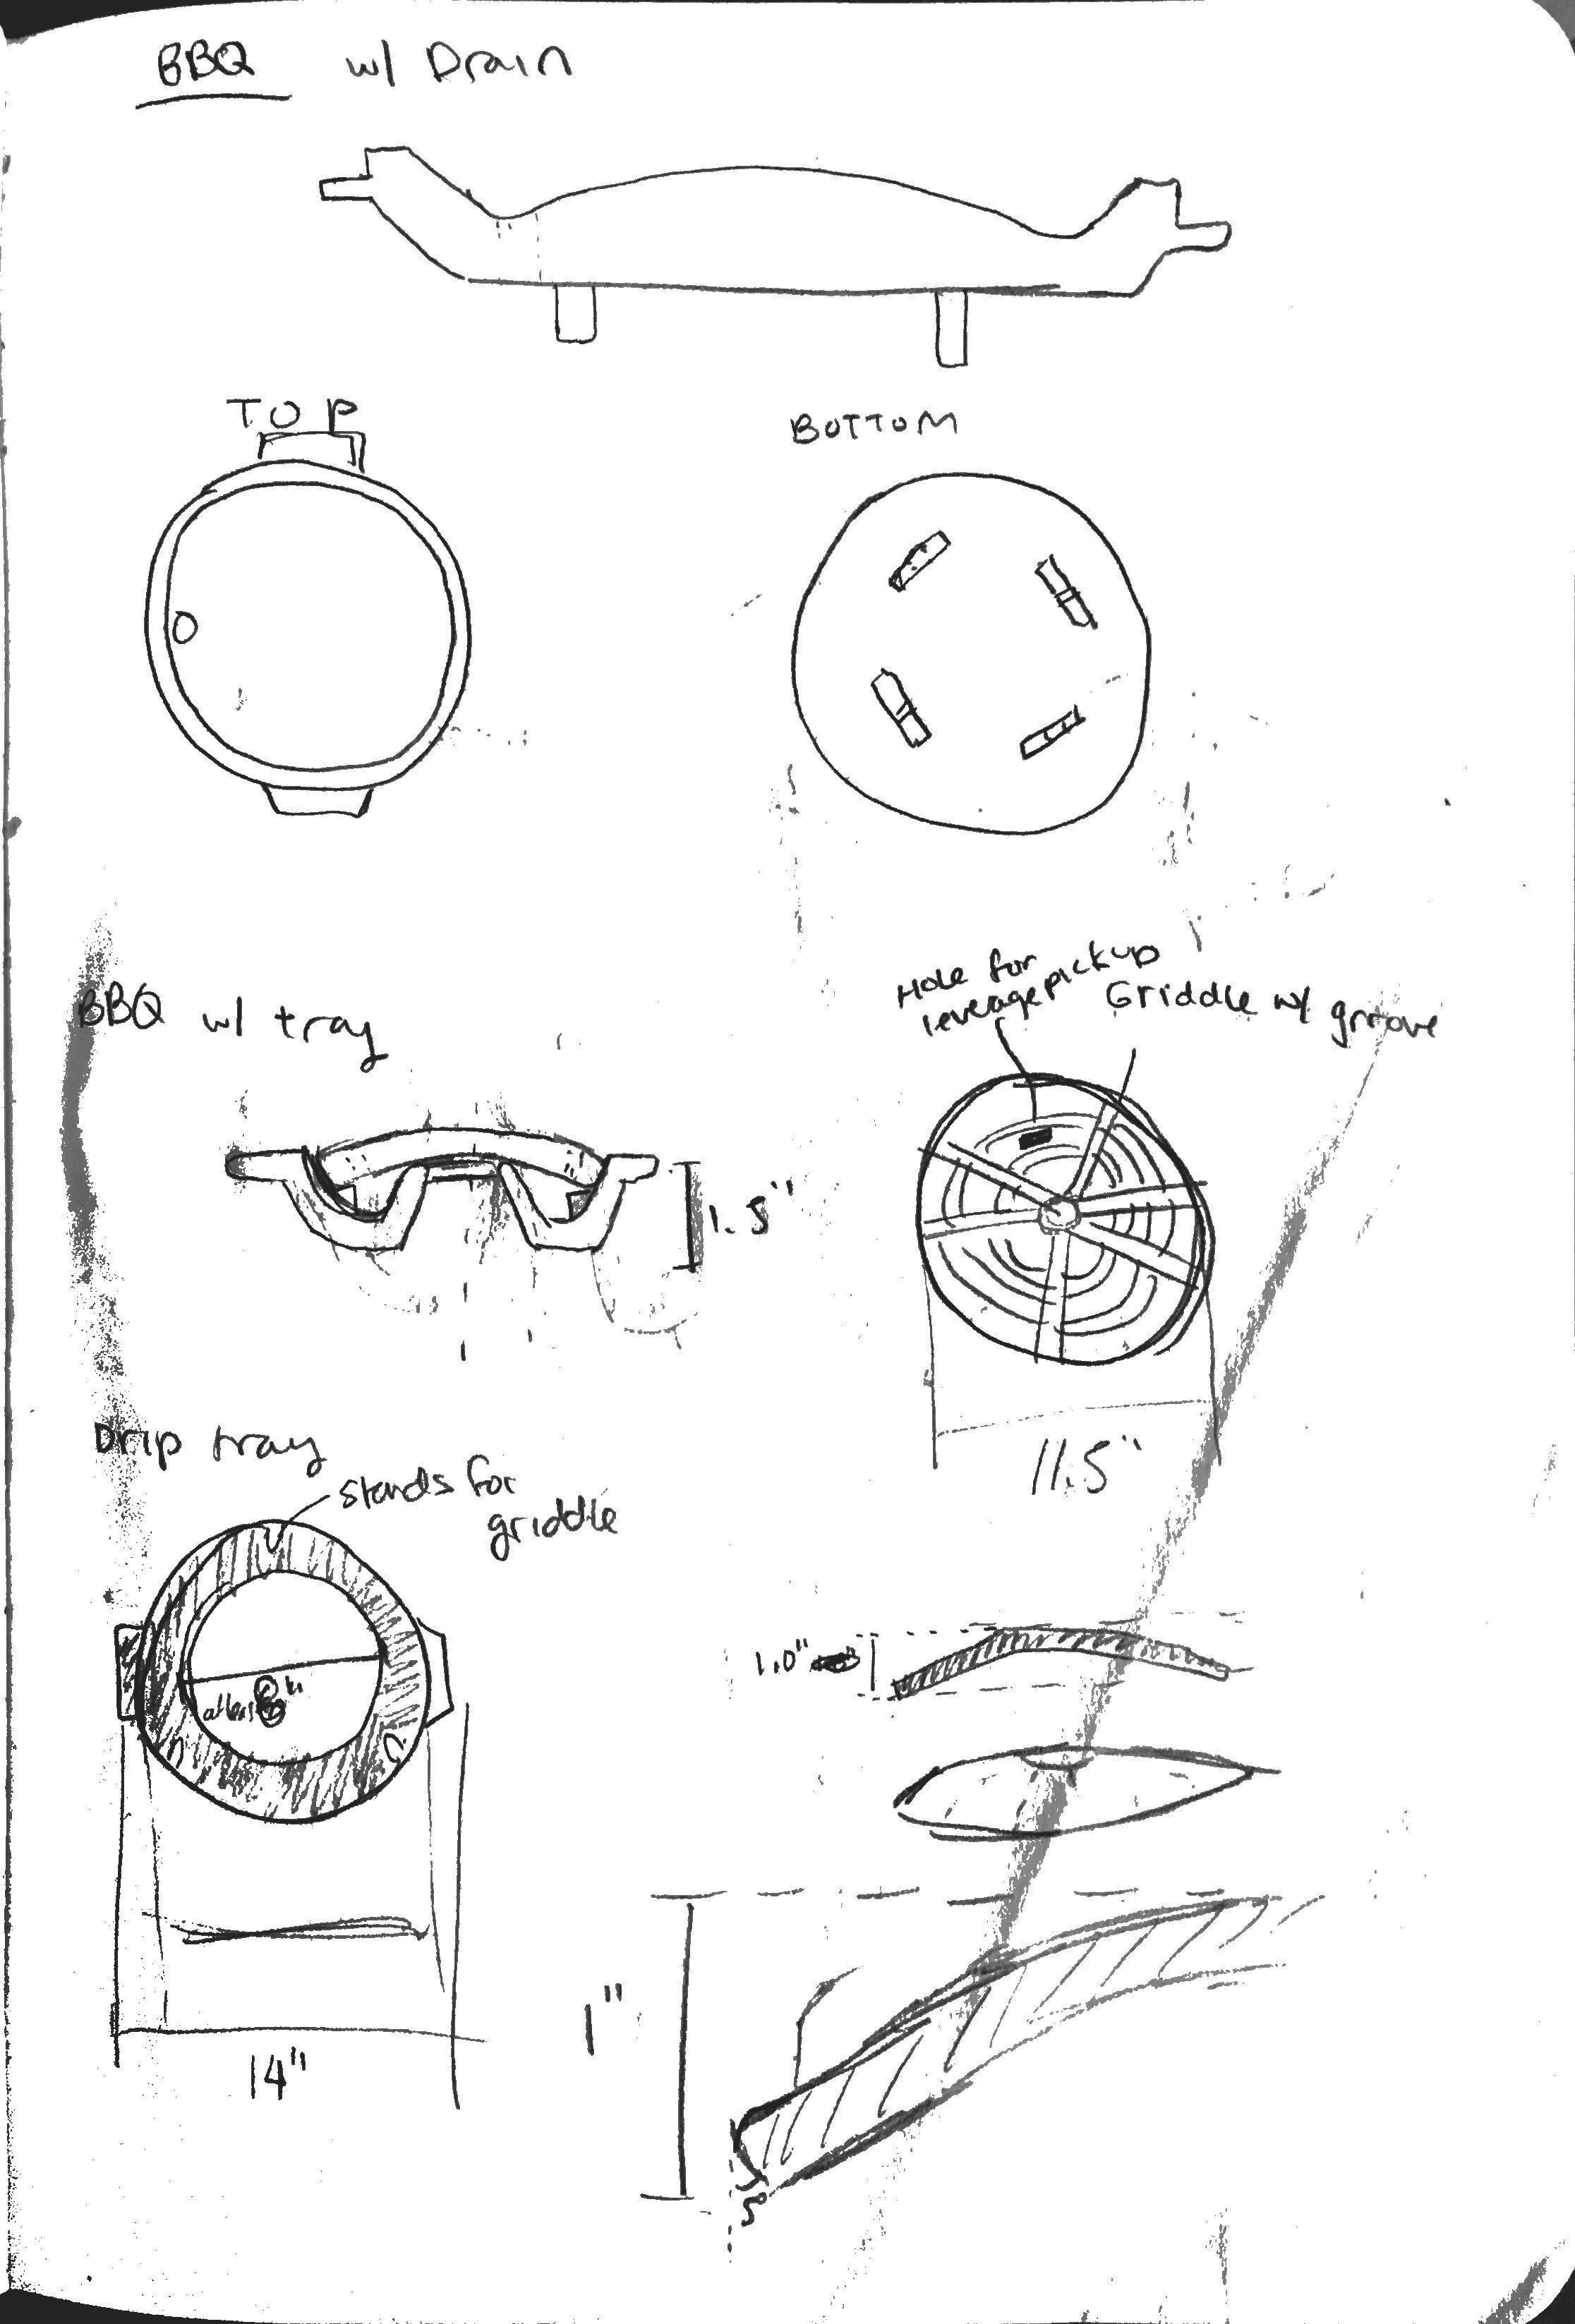
Sketches
In order to mimic the Korean-BBQ grill style, I needed to make a stove that would be easily portable, can drain grease during cooking, and retain heat on a portable stove. I started by sketching various ideas and draining mechanisms. To ensure that the project was not over-scoped and could be accomplished in a 9-week time frame, I thought about the manufacturing techniques, the time it would take to learn, and consulted the experts from the workshop.
I eventually chose to use cast aluminum as the method and material for manufacturing the griddle and drip tray. Cast aluminum is naturally food-safe; cast-iron would have been another viable option, but the foundry I was working with only provided cast aluminum. Additionally, being able to cast my piece means I can create the curvatures needed for the drip-tray and griddle by fabricating a pattern using wood-working.
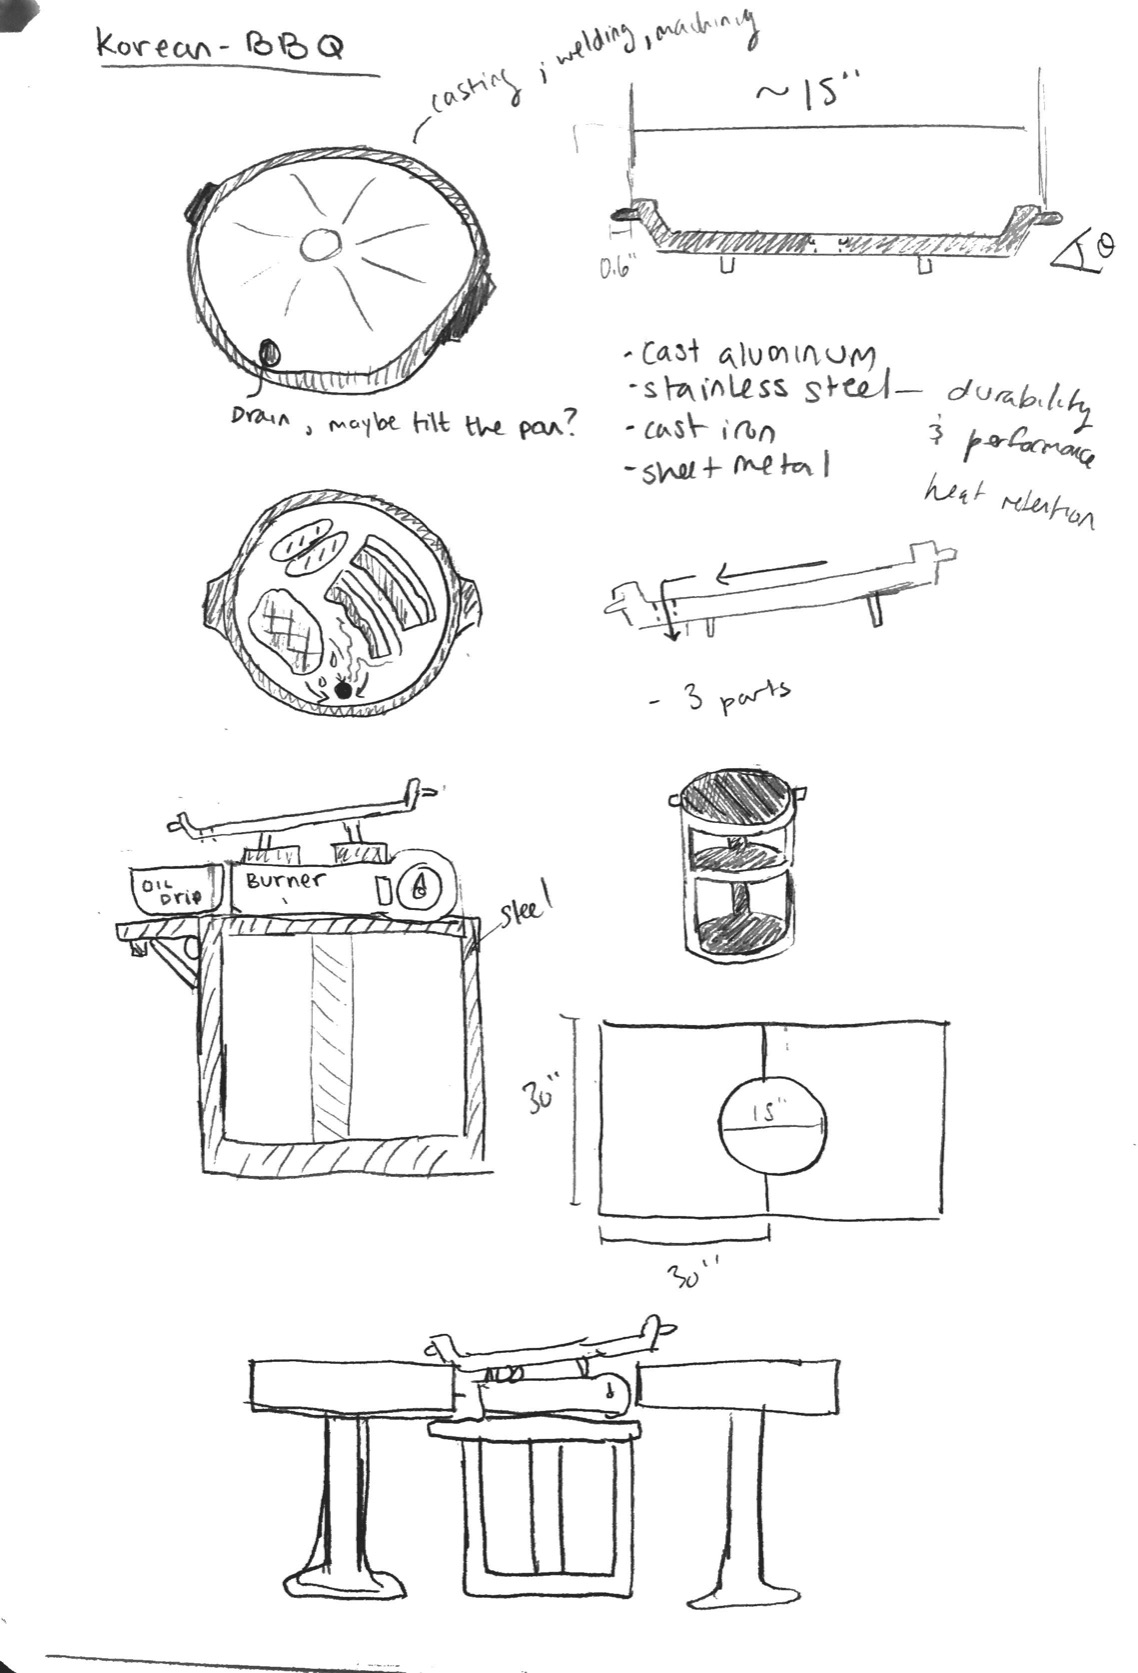
Grill Ideas
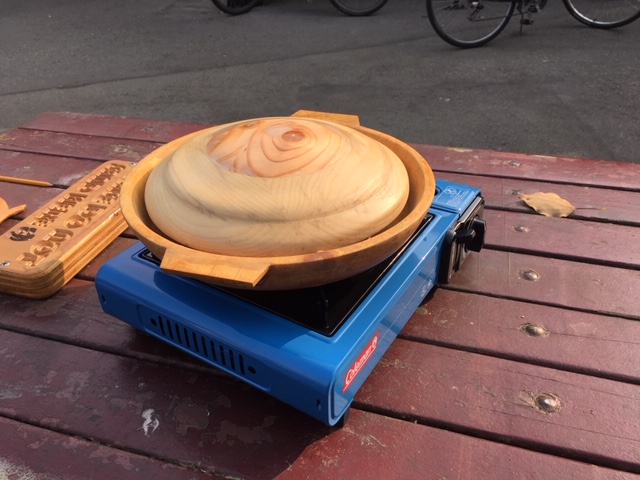
Prototyping
Prototyping is used to test a critical function of the product. In this prototype, I tested the drip-tray feature, ensuring that liquids will drain down the circular griddle and into a gap between the drip tray. The prototype also helped give me a sense of size of the grill to fit the portable stove top as well as the size constraints of the snap flasks used in casting.


Prototype made of laser-cut Duron, Pink Foam, and cardboard
Patternmaking
To sand-cast, I needed to make a pattern that would be used as the mold for the cast. To achieve the curvatures needed, I used the wood-lathe on Poplar wood. Turning the drip-tray on the wood-lathe was the most challenging part of the project.
In order to achieve the internal and external curvatures, I needed to think about my operations sequence carefully. I needed to turn most of the drip tray before cutting the hole in the center. If I took too much wood off one side, then I would not be able to mount the piece with the face plate onto the lathe on the other side. During this turning process, I constantly checked the thickness of the pattern with calipers. Having uneven thickness or even patterns that are too thick may lead to warping or shrinkage in the cast due to uneven cooling of the metal.
For the handles, I measured out the approximate shape I wanted and cut them out with a band-saw. Then, I used a spindle sander to shape the curvature to match the external curvature of the drip tray. Three platforms were glued to the interior of the drip tray for the griddle to sit on. In order to keep a constant gap between the griddle and the drip tray for grease to flow in, spacers were glue onto the platforms as well. These platforms were made from a plank that was cut at an angle length-wise using a table saw then sliced into smaller equally-sized pieces. By doing this, the shape and angle of each platform were fairly consistent.


Manufacturing the Drip Tray
The griddle top was also turned. This allowed me to give it an organic shape and curve that would let liquids flow down the top.


Manufacturing the pattern for the griddle top
Once the patterns were sanded, I sprayed a layer of shellac to finish the wood pattern. The shellac provides a smooth layer and fills the porous wood, which should help prevent sand from sticking to the wood during the sand molding.
Finished Pattern
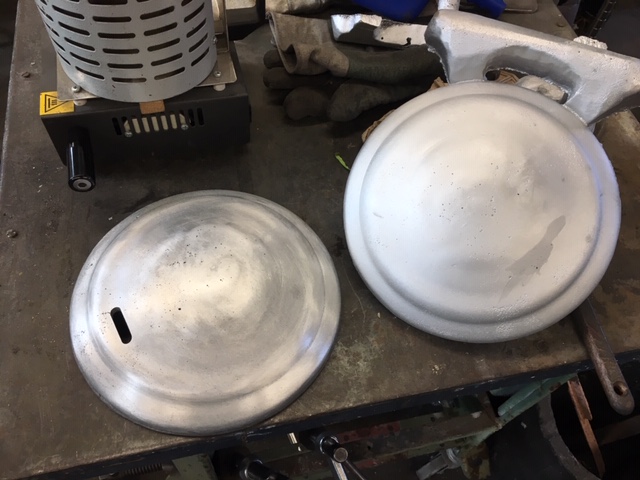
Casting
Once the pattern was done, I rammed up the pattern into a sand mold. I had difficult getting the pattern to pull cleanly from the sand mold. Oftentimes, there would be sand that sticks onto parts of the pattern or it was just difficult to pull out the curved pattern without disturbing sand in other areas. To remedy this, I took the pattern and sanded down areas that needed a larger draft angle and smoothed out any rougher parts of the pattern.
Additionally, when the parts came out of the cast, some cast pieces would have blemishes or air bubbles in them possibly due to not having a clean pull or the flow of molten aluminum disturbing some of the sand. To remedy this, I smoothed out the pouring cup of each sand mold to ensure that a less turbulent flow and also requested a lower pouring temperature. A lower pouring temperature can be less volatile, which would help with the turbulence.


Casting the Pattern
Finishing
After casting, the next design choice was how to finish the parts. I wanted the cooking surface of the griddle to be smooth as it visually looked more appealing. I compared two methods of sanding by sand blasting a test piece while wet sanding and polishing the another. The sand blasted surface gave even surface finish while leaving a light cast finish while the wet sanding left a smooth and shinier finish. I ended up choosing to use the shinier and polished finish.
Sanded finish vs Glass Bead-blasted finish
With the drip tray, I wanted to keep a cast finish, but also wanted to smooth it lightly. Because the drip tray was more difficult to hand sand, I figured using a glass bead blaster was a good option based on the results on the griddle test piece. I noticed that the bead blasted finish made the part possibly more porous and absorbent, as it would seem to take in oils more. It may seem like this would be terrible for cleaning after grease catching, but it actually proved to be useful for seasoning the cast parts. Once seasoned, the cast material had a long-lasting non-stick layer.
I used an end-mill to clean off the top layer of the drip-tray, leveling off the textured cast finish. Then, I sanded it down and polished it, leaving a nice, smooth and shiny top rim. This was a nice contrast to the bead-blasted finish on the exterior of the drip tray. I then used a vinyl stencil to bead blast my family’s name on the handle and the name of the drip tray on underneath the handle.


Finishing the drip-tray surface by milling the top surface then using a vinyl stencil to bead blast characters on the handles
Overall, I was pretty proud of this project. Not only did I learn various shop and manufacturing skills, but also I made something symbolic of my connection with my family.


Finished cast aluminum drip tray and griddle along with stainless steel lifting tool
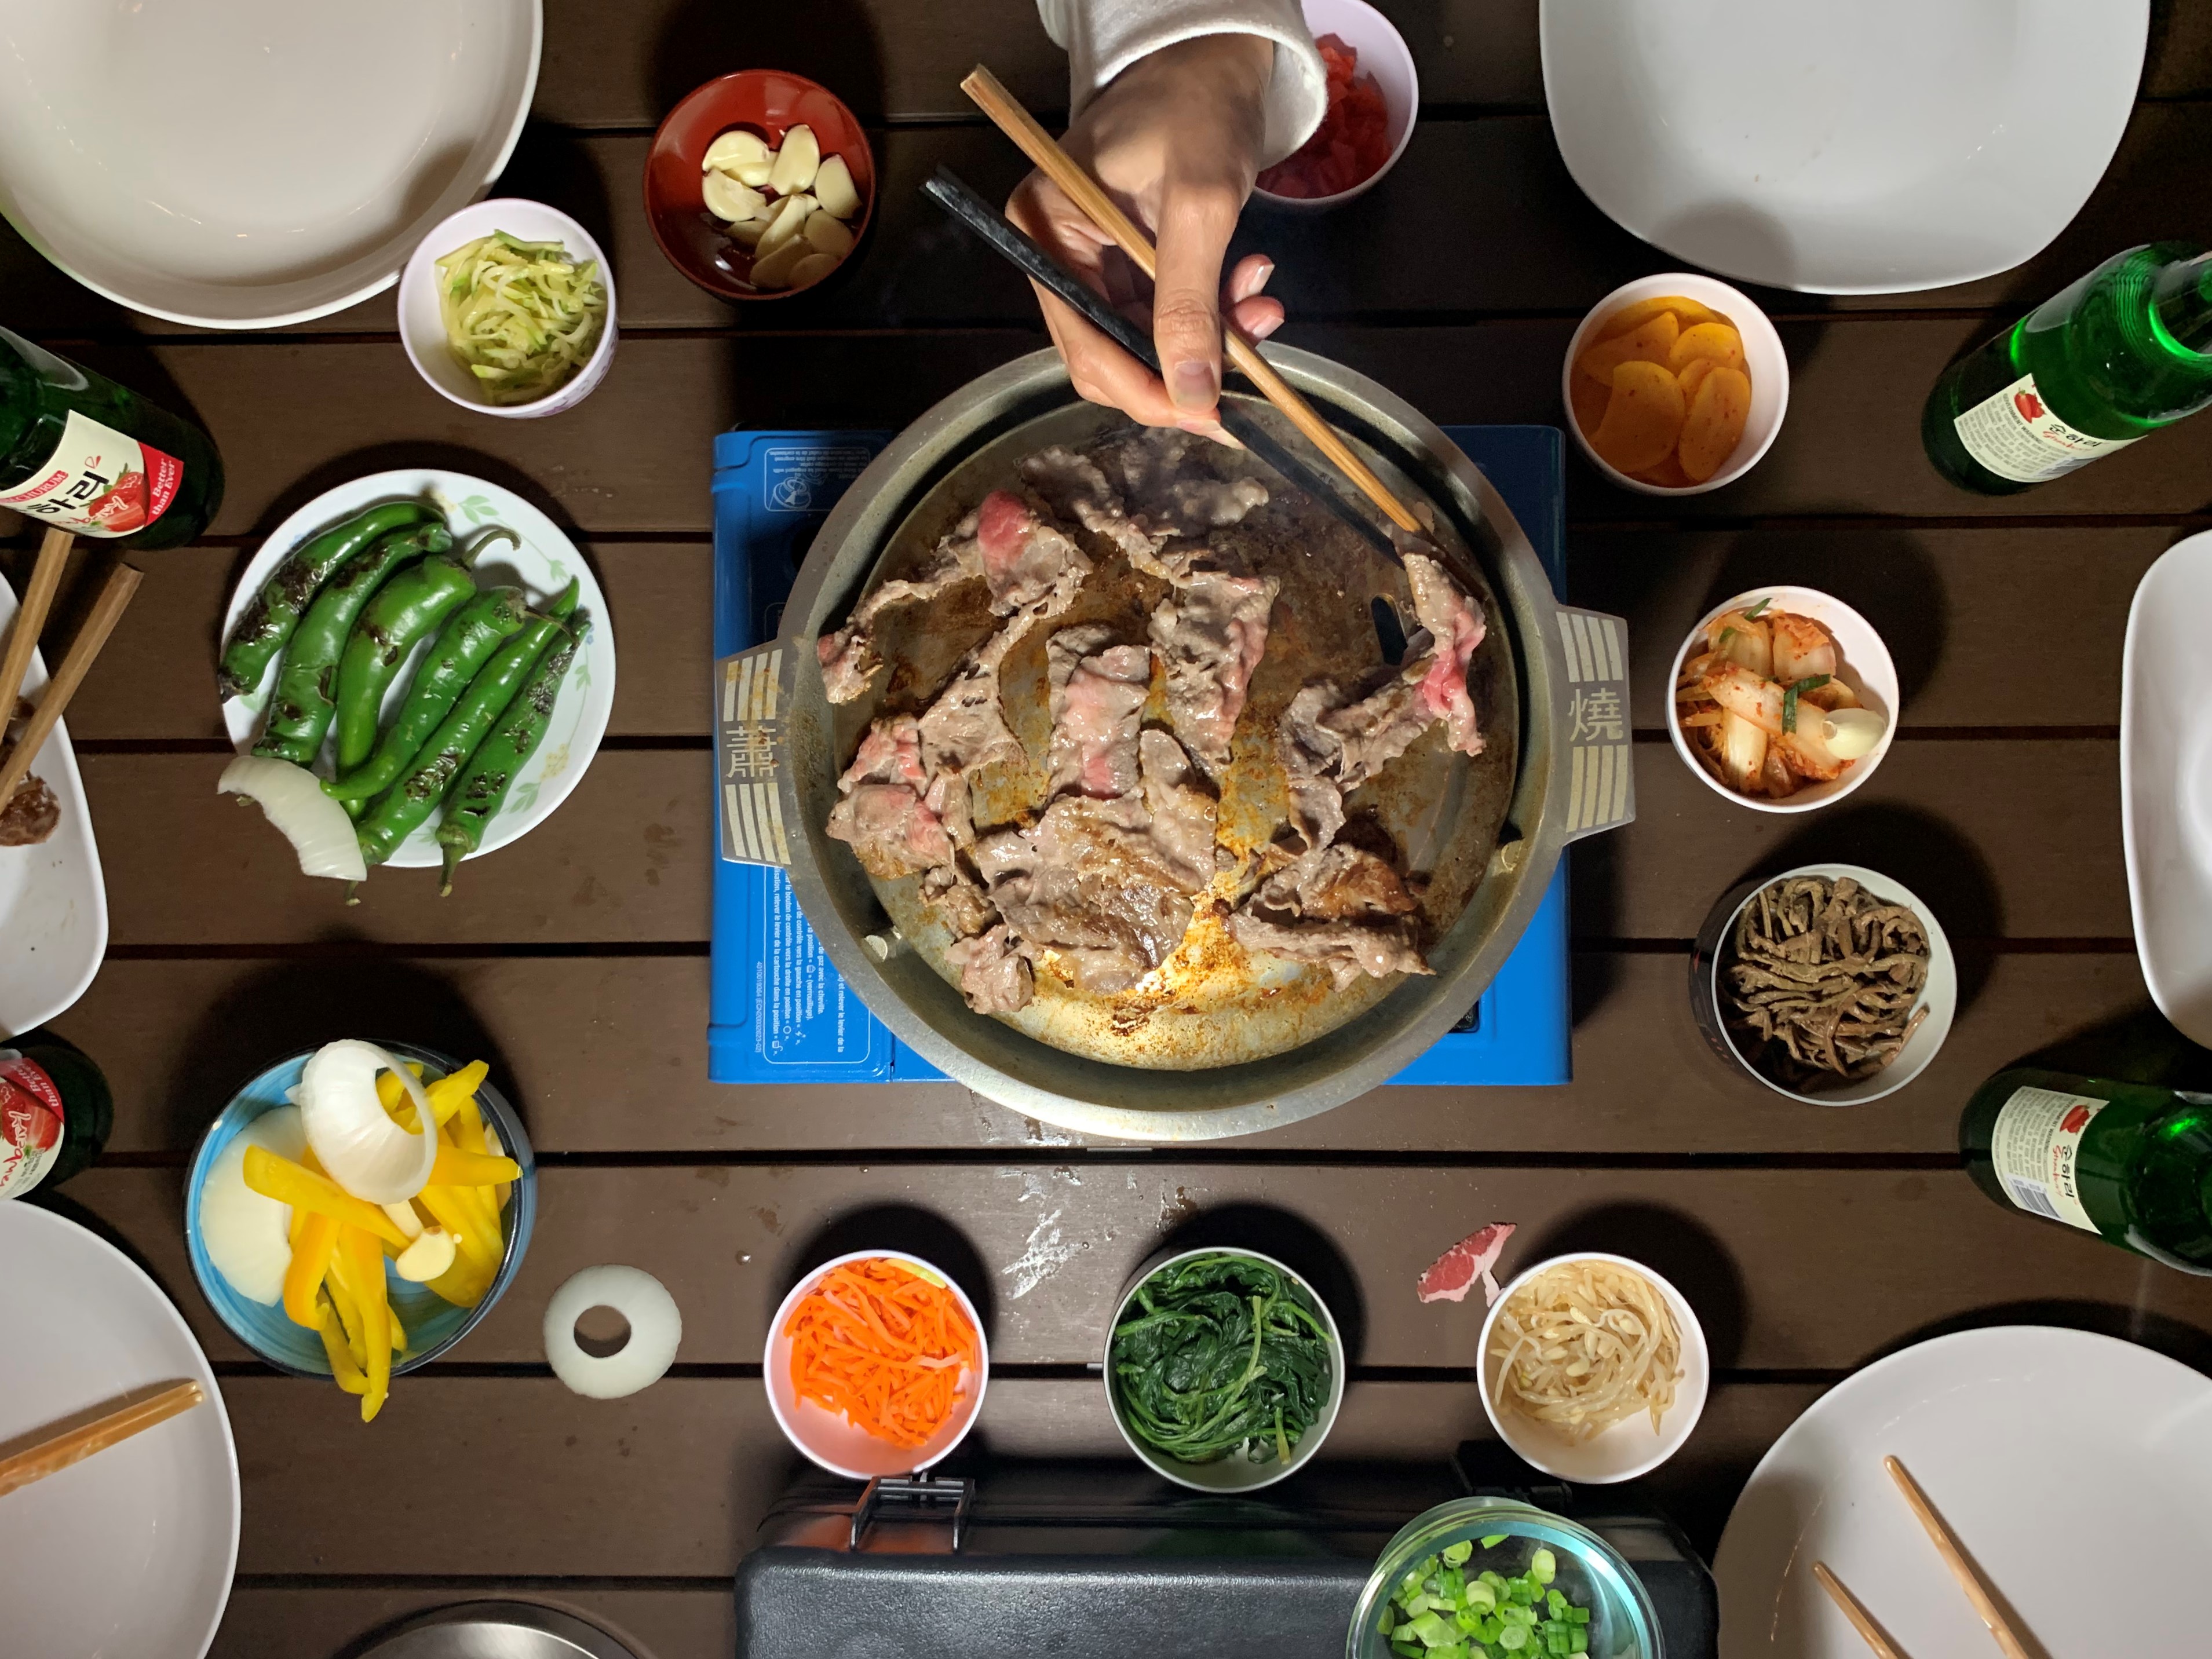
Can’t have KBBQ without the sides and soju!